
Make Raspberry Pi Jenkins traffic light

It is the simple instruction for javascript developers how to make physical Jenkins traffic light. This device can be good first experience with the Raspberry Pi and it is useful for controlling your build’s health!
Hardware
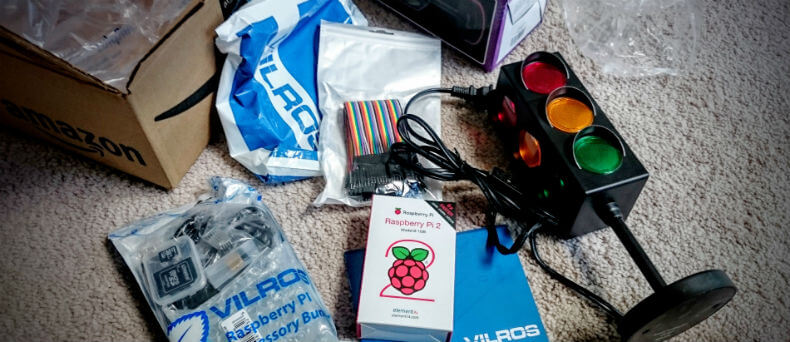
Necessary hardware:
- Raspberry Pi with AC and flash-card (x1)
- USB WiFi for Raspberry Pi (for wireless usage)
- Traffic light toy (x1)
- White or color LEDs (x27)
- Resistors (x3 or x27)
- Circuit boards
- Wires.
Raspberry Pi has digital outputs used for turn on lights, motors, or something else. Outputs are realised as GPIO (General Purpose Input/Output) connection pins header. I used only GPIO pins power, so they were limited only in 3v3. But this solution does not require additional transistors or power source. Raspberry Pi 2 has 40-pins header, arranged by 20 pins in 2 lines.
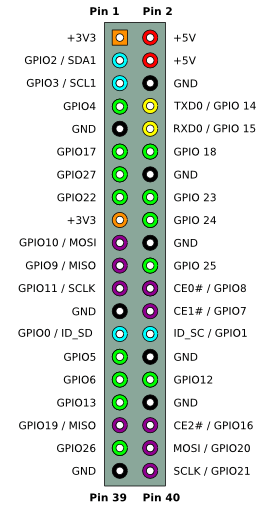
The GPIO has 17 pins in total. For more information see here.
I used these pins: 15 – red color, 11 – yellow color, 7 – green, 39 – ground.
Connection schema:
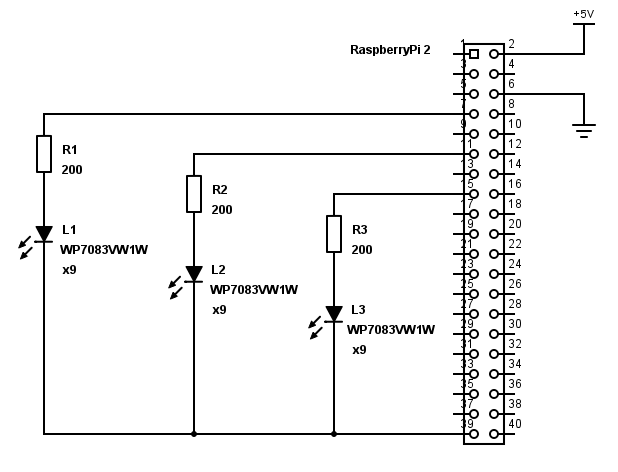
But it not good idea to use pins voltage for turning on leds. Better solution should turn on leds with 0 level on pin, so connection should be like:
GPIO pin (3v3 or 0v) --- resistor --- led --- 3v3 pin
If you feel more power use this schema (thanks Nikolay!):
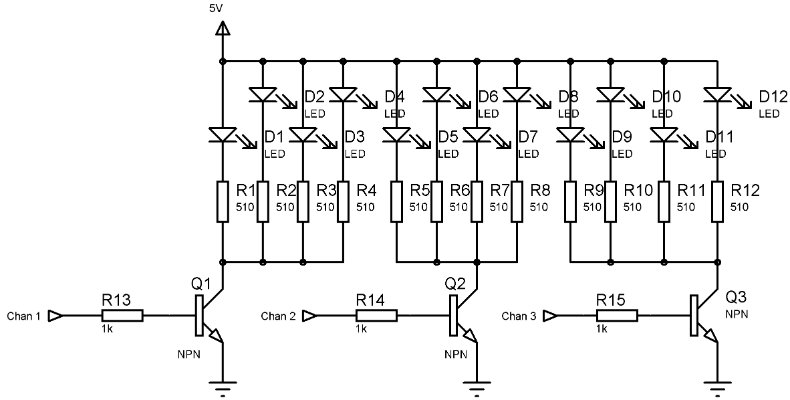
List of available pins is here.
After some time I got the first prototype:
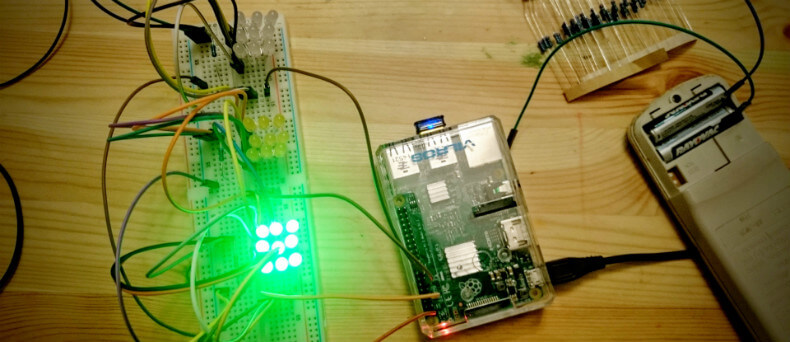
It worked properly, but was not bright enough.
After consultation with my brother I ordered new 3v3 brighter leds with clear white plastic lens:
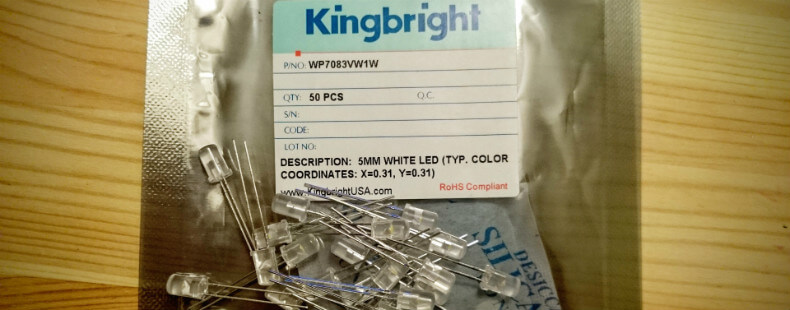
They does not look excellent but much better than colored. And more important they have identical bright level unlike colored, because my color leds use different voltage.
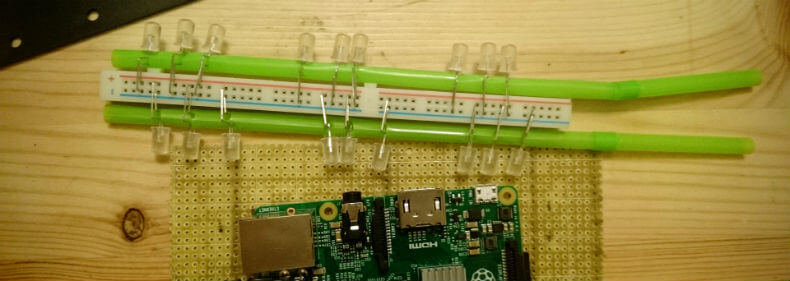
I tried mount leds on the part of layout board, but it looks weird and was not symmetric:
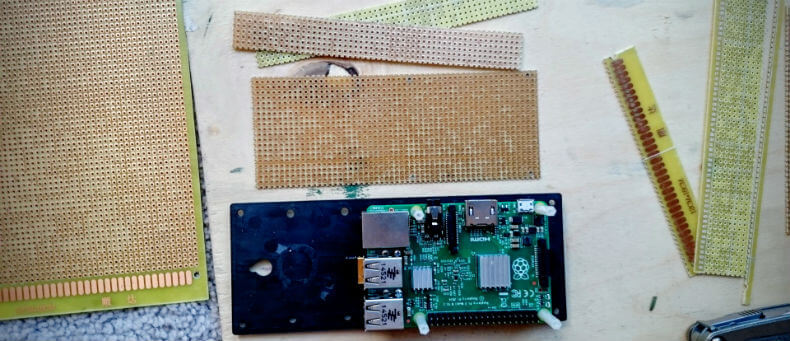
So, I bought an electronic circuit board and cut it for appropriate size for my traffic light:
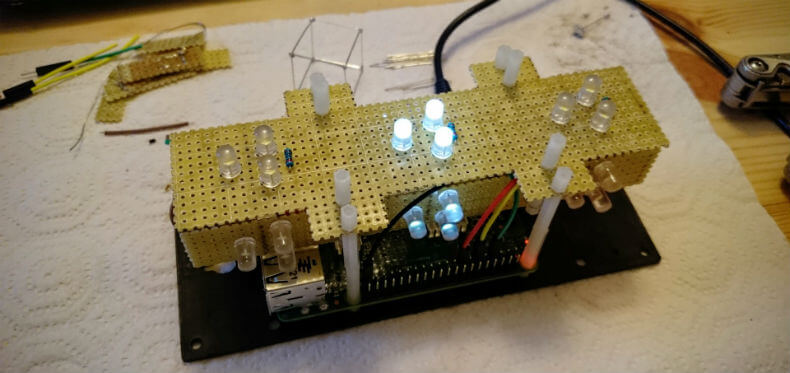
After 2 evenings and fun experiments with a soldering iron I got this:

And the final version under hood:
After testing I improved color depth by using colored films:
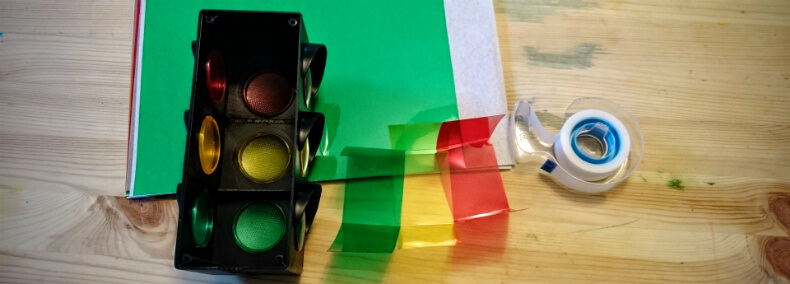
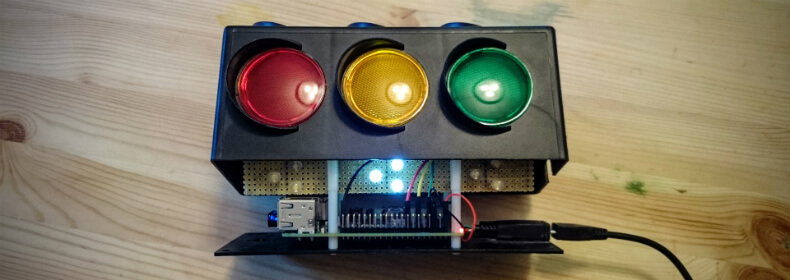
Ok, it is fit:
Software
I used Node.js v5 and my own module: https://github.com/antonfisher/rpi-jenkins-light. But first of all install Raspberrian.
NodeJs v5 installation
- SSH to Raspberry Pi
$ sudo su(need for install Node.js)- Install Node.js:
$ curl -sL https://deb.nodesource.com/setup_5.x | sudo -E bash - - Run
$ apt-get install nodejs.
Installation Jenkins Light Module
- SSH to Raspberry Pi
$ sudo su(need for install GPIO module)- From GitHub sources:
- Clone repository:
$ git clone https://github.com/antonfisher/rpi-jenkins-light.git $ cd rpi-jenkins-light- Install dependencies:
$ npm install
- Clone repository:
- From NPM:
$ npm install rpi-jenkins-light.
Configure
Edit $ vim configs/config.js file:
module.exports = {
    rpi: {                          // Raspberry Pi sub-config
        gpio: {                     // GPIO [General Purpose Input Output] config
            color: {
                red: 15,            // pin # for red color
                yellow: 11,         // pin # for yellow color
                green: 7            // pin # for green color
            },
            outputLevel: {
                on: true,  // 3v3   // led turn on output level
                off: false // 0v    // led turn off output level
            }
        }
    },
    jenkins: {                      // Jenkins sub-config
        interval: 5 * 1000,         // requests interval
        host: '10.0.0.1',
        port: '8080',
        view: 'JenkinsLight',       // http://localhost:8080/view/%VIEW_NAME%/
        demoMode: true              // demo turn on red-yellow-green lights
    }
};
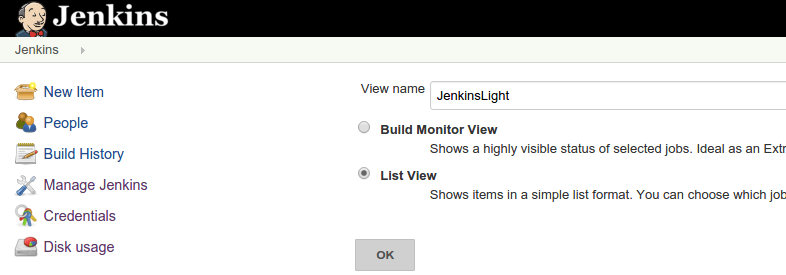
Configure Jenkins
- Open Jenkins main page
- Create new list view called
JenkinsLight - Add monitored tasks to this view.
The colors indicate (by priority):
- Blinks yellow – at least one build is running
- Red – at least one build is failed
- Green – all builds are OK.
Run
$ sudo su(need for GPIO module)- From GitHub sources:
$ node run.js
- From NPM:
$ node ./node_modules/rpi-jenkins-light/run.js.
Autorun application after reboot
$ sudo su(need for global modules)$ npm install pm2 -g$ pm2 startup$ pm2 start run.js$ pm2 save.
Thanks for reading!